{Lazy Day Makeup}

We all have those days where we just need to run to town for a few errands. We don’t want to get all dressed up, but at the same time we still want to look good in case we run into someone! Here’s a quick step by step for lazy day makeup that will have you out the door in 5-10 minutes!

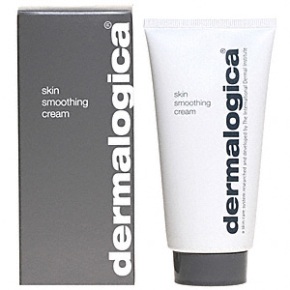
#1 When you get out of the shower put on your moisturizer (my favorite is Dermalogica Skin Smoothing Cream)!

Image                                                                                          

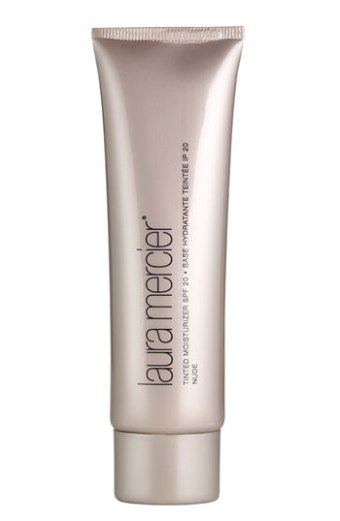
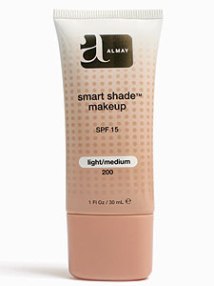
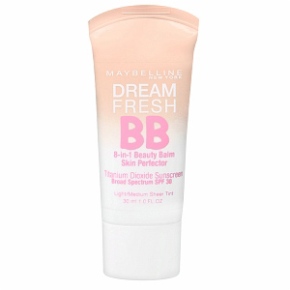
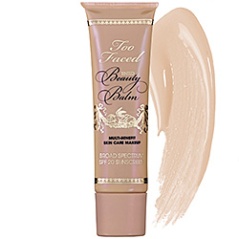
#2 Foundation: We don’t want to put on a lot of makeup especially if we aren’t doing much that day. But we still want our skin to look awake and refreshed! Grab a tinted moisturizer or a BB cream and use your fingers to blend it in! Here are some great ones! My personal favorites is the Laura Mercier!

ImageImageImageImage                                    

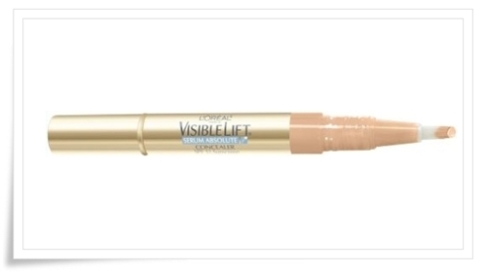
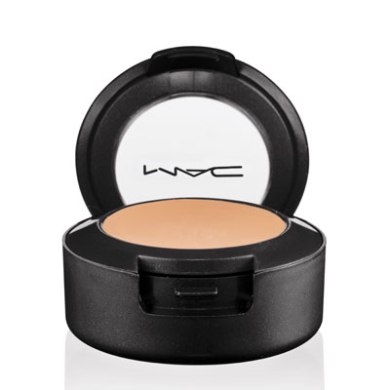
#3 Conceal: Grab your favorite concealer or under eye brightener to brighten up your face and to cover any blemishes! Pictured below are my favorite under eye brightener (Loreal visible lift), and concealer (MAC studio finish)!

ImageImage                                                                     

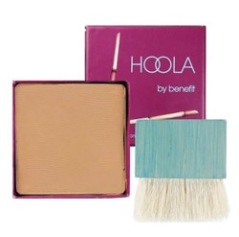
#4 Bronzer: Add a little big of color to your face by lightly sweeping a bronzer across your cheek bones, temples, and jaw line. This will give you a slight glow and make you look awake and refreshed! There are so many great bronzers out there it’s all about what you prefer! My number one favorite is Hoola by Benefit. A great drugstore alternative is NYX!

ImageImage       

 #5 Eyeliner: Take an angled  or flat liner brush and and brown eyeshadow. Sweep a soft line across the lash line. Using a powder as opposed to a pencil or a liquid will give a softer day time look. However there’s no rule that says you have to use this specific liner for this look. I just think it goes best!

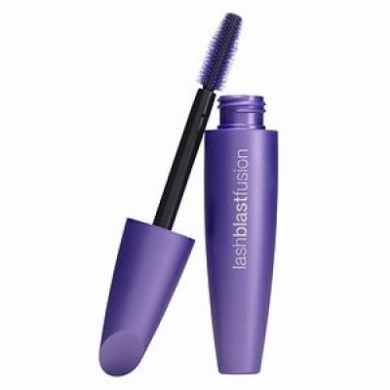
#6 Mascara: Time for mascara! Use one that gives your lashes a more natural look. You can’t go wrong with Covergirl lash blast!

 Image  


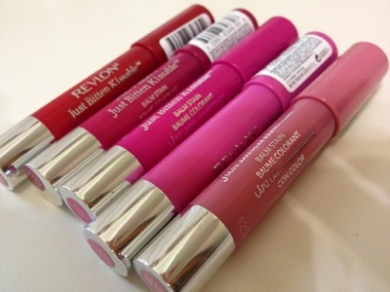
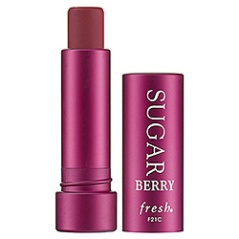
#6 Tinted lip balm: Finally add a touch of color to your face by using a tinted lip balm! Having color on your lips always brightens up the face so grab a great washed out pink or berry color and then you’re ready to hit the grocery store! (this is actually a great look for the gym too if you want to have a little bit of makeup on! I would just skip the eyeliner and the lips). Here some great tinted lip balm options. Revlon just bitten kissable balm stain, and Fresh Sugar tinted lip treatment.

ImageImage

{The Beauty of Coconut Oil}

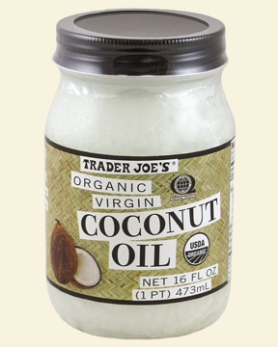
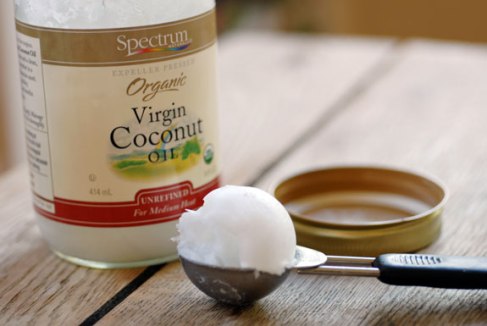
We’ve all been hearing about coconut oil lately, and its many uses outside of the kitchen! I’ve been trying them out and I have to say i’m in love and am making coconut oil a staple in my bathroom! Here’s a quick list of all the great ways to use it!

ImageImage

Elbows, cracked heels: Its common for us to get super dry and cracked on our elbows and the heels of our feet. Use coconut oil on its own or mixed with your favorite lotion in those areas, it will really make a difference. I like to mix it with my foot cream and put it all over my feet, then put my super soft socks on for a little treatment after a home pedicure. It’s the perfect finish!

Face and Lips: I have super dehydrated skin and sometimes because of that it can look dull so i’m always trying to find ways to make it look fresh and to brighten it up. Lately i’ve been mixing a small amount of coconut oil to my face cream at night. After the first night I could already tell a difference. Not only did it tighten up my face, it looked so fresh and soft in the morning. Now it’s something I do a couple times a week!

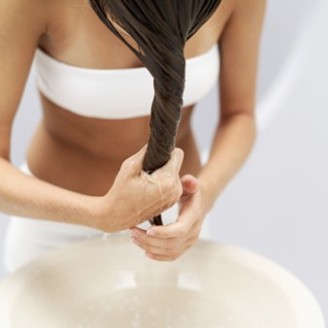
Hair: It’s that time of year again when everybody gets dry hair and we try everything to keep it hydrated. I like to use this a few different ways. The first way is to rub some straight onto the mid shaft and ends of your hair over night and then wash it out in the morning. The second is to mix it with a hair mask or deep conditioner and do a quick 10 minute (or longer) treatment on the hair (applying heat is an added help).

Image

Scalp: Dry skin comes with a dry scalp, take some coconut oil on your fingertips and massage it into your scalp leave it for a few minutes or over night to hydrate and help with dry dandruff.

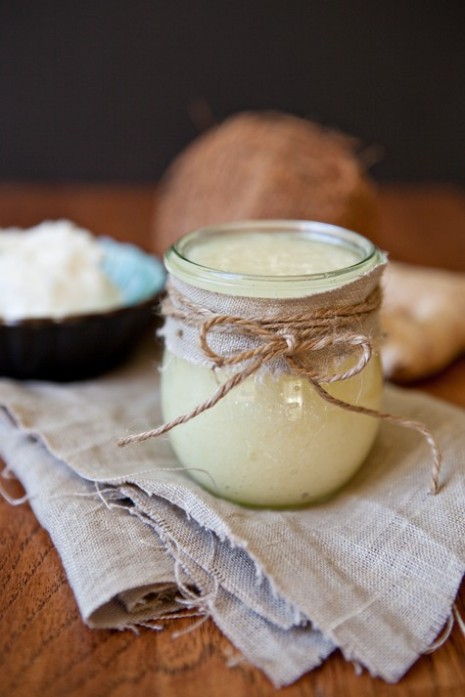
Body: I love making home made beauty products. One of my favorite things to make is a body scrub. It’s also a great gift for a friend. It’s cute to package up in a small mason jar with some ribbon and fabric!

Image

1 cup organic brown sugar

1/2 cup oatmeal (oats)

1/3 cup sea salt

1/2 cup coconut oil

1 Tbsp Vitamin E

Add a few drops of your favorite essential oil for scent, mix all together and you’re good to go!

Here’s some other great uses:

-Use in place of shaving cream

-Use as a makeup remover

-Use it to treat skin irritations

-Use on bee stings or bug bites to soothe

-Use it to remove gum from your kid’s hair

-Use to help boost weightloss

Have fun with your coconut oil adventures!

Until next time.

Peace Out!

{Freebies @ Sephora}

Image

I don’t know about you guys, but I love to shop Sephora online as opposed to shopping in the store because there are always promos and freebies you can add to every purchase. It’s a great way to try new beauty products and get travel sized items to keep in your travel makeup bag! And if your like me and addicted to beauty products why not get a few free things while you’re at it.

The first thing you should do if you haven’t already is to sign up for the beauty insider card. It’s basically a rewards card for every dollar you spend you get one point and for every 100 points you get a free deluxe sample. You can also save your points until you reach 500 and get a gift set. For example right now the 500 point gifts are an Urban Decay box which includes an eye primer, eye pencil, and mini makeup setting spray, or a Stila gift set which includes a mascara, eye pencil, lipgloss, and highlighter! Your points never run out and carry over to each new year. Also if you are reaching 100 points or 500 points during your purchase you get to redeem it then as well, you don’t have to wait for the next purchase. If you get 350 points in one year you earn the VIB status which gets you special deals and discounts! Another perk is that during your birthday month you get a free gift if you purchase in store or online. This year they are giving out a pack of Fresh Lip Balms one regular and on tinted! I freakin’ love them!

The Second thing I always do before I shop around is to check the weekly specials. They always have a list of coupon codes which include freebies and/or free gifts with purchase (look to see if something you are purchasing comes with a free gift, its common for fragrances) or limited discount pricing on high end products. I also like to take a quick look at Retail Me Not. Sometimes you can find more freebie codes there that they aren’t showing on the Sephora website. Also when you check out under the promo code entry box there’s a link that says “check current promos” I find that often there different promos there than showed on the weekly specials page. The only bummer is that you get only one promo per order, so pick wisely!

Another great thing about shopping online is right before checkout you get to automatically pick 3 free samples to add to your order. This is one freebie that you always get no matter what. During different times of the year they up the samples from 3 to 5 (usually around Halloween and Christmas). And they sample choices are constantly changing so you don’t have to worry about always getting the same ones!

Another great way to get your bang for you buck while shopping is to look under the palettes and value sets category. These usually include eye shadow palettes which are  a great value because you get a ton of shadows that  if purchased individually would cost a lot more. They also have a lot of great boxed sets from many of the brands they carry which include a variety of products for the brand and is often less expensive to purchase this way than to purchase the products individually.

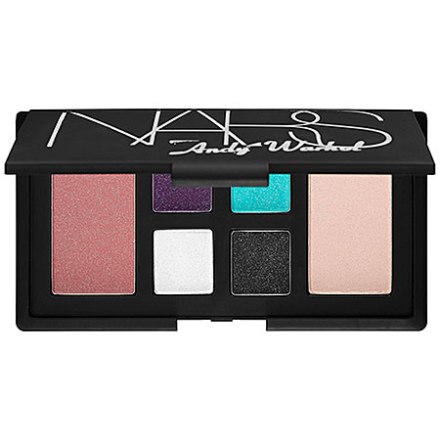
For example this Nars eyeshadow and blush set is only $65, if you were to purchase these individually you would spend a minimum of $110

Image

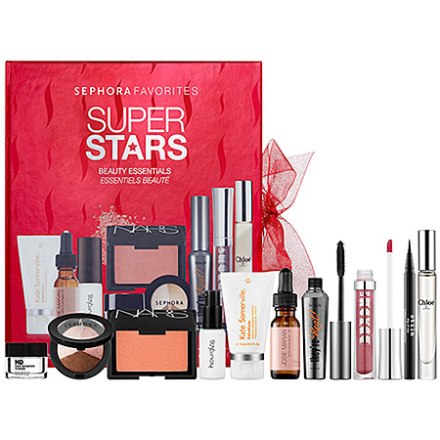
And this boxed set of Sephora’s favorites is only $75 but if you bought them all individually it would be $186

Image

Make sure to stop by the sale section before you check out as well, you can find some great deals there too.

Sephora always offers free shipping on orders of $50 or more (and I believe that during the holidays they lower the limit for free shipping). Typically, if your ordering makeup from Sephora often times you will be close to the $50 mark, so what I like to do is head to the sale section and see what I can add to my order to make it $50. If you are at $45 you might as well find something for $5 instead of spending that $5 on shipping and then you just get to add 5 more points to your card and it’s almost like getting it free especially if you had to spend that amount anyways.

Alright you beauty junkies…..go explore Sephora and have fun!

And until next time…

Peace Out!

{How to Talk to Your Stylist}

Sometimes we just don’t know how to explain what we want, especially when it comes to hair. We can have ideas in our head but we have no idea how to explain what our vision is.

Have you ever been to the salon thinking you’re going to look like this?

But somehow you left feeling like this?

Well today i’m going to give you some tools to help you talk to your stylist and point out everything you should know about getting your hair done! This way you can hopefully avoid bad hair experiences, understand a little bit about how hair stylists think, get a little educated on hair, and get what you want!

#1 Pictures: Pictures are a great tool to use when explaining what you want to your hair stylist, but there are a few things to keep in mind when you are looking for pictures. One very important one is to make sure the picture you find is similar to your hair type. It’s impractical  to bring in a picture of someone with fine hair when you have thick hair, and to think you can still get the same look. Finding pictures close to your hair type gives you a better chance of getting a similar look.

Another thing to keep in mind when you are looking for pictures is how the hair is styled in the picture. I can guarantee that all hair pictures have been styled so you’ll have to think about if you are willing to style it that way.

And lastly try to keep in mind that no matter what it’s not going to look “exactly” like the picture. Even if the hair looks exactly like yours ,everybody’s hair is still completely different and does different things.  Make sure to tell your stylist what you like and dislike about the picture(s), what your normal hair routine is everyday, and what products you are currently using, and they will work with you to come up with something great for you inspired by your picture, but tailored to your hair!

#2 Past Haircuts: Tell your stylist what styles you’ve had in the past and let them know what worked and didn’t work. Tell them if there is any problem areas with your hair as well. Even though they are the expert nobody knows your hair more than you do so don’t hesitate to let them know exactly what works and doesn’t work for you.

#3 Reference Points: If you are going shorter in length or adding bangs feel free to give your stylist reference points for length. For example ” I want my bangs to lie just above the eyebrows”, or I would like the length of my hair to fall at my chin”. Reference points are great because it’s just another visual you can use to make sure you get what you want and to make sure the stylist is understanding your vision.

#4 Chop it off: If you are thinking of a whole new look and you want to chop 10 inches off your hair or get bangs when you’ve never had em, be prepared for your hairstylist to drill you about it! They want to make sure you really want to make that change and that you wont be devastated a week later that you cut it all off. It happens to everyone, I’ve recently done it as well, and a week after my cut I decided to grow it back out. At least in the end hair grows right?

#5 Ask your stylist: Don’t hesitate to ask your stylist for suggestions as well. They’ve seen enough face shapes and done enough hair to know what will look good on different people. Chances are their brains are already working as soon as you walk in and they’ll already have a few ideas of their own!

#6 Color: If you are going to get your hair colored it’s a whole different conversation. Pictures are great to bring as well, however keep in mind that the color used in the picture could be a different brand than what the salon uses. The model could have started out with a different base then you have. Your stylist will do everything they can to match it as closely to the picture as they can.

Make sure to let your stylist know your color history as well. Believe it or not everything you’ve done previously to your hair will effect your current color. Let them know if you have box color or henna on your hair or if you’ve previously had highlights or red, and how long it’s been since you’ve had those colors. And yes even if it’s been a year since you’ve colored your hair, there is still color on your hair. The only way it goes away is if it’s cut off. So Your hair history is very important for your stylist to get you exactly what you want!

#7 Going Blonde: Do you have dark hair or red hair and want to go completely blonde? Make sure you know that unless you want a five hour appointment (which is how long it takes celebrities too! ) You probably aren’t going to be completely blonde in one appointment. BUT!!! most likely your stylist can get you pretty darn blonde ( but you will still have some of your dark in there). It’s a long process and they want to make sure that not only are they protecting the integrity of your hair they are also getting you a blonde that is a nice tone and not too brassy or gold. It’s still going to take a long time but not as long as it could be. It generally will take a couple appointments to go completely blonde! Just remember your stylist will do everything they can to make you happy but they also want you to understand the process! They also want you to know that they aren’t just saying things because they don’t want to do your hair, they really just want you to get the best results and keep your hair healthy!

#8 Color tones: Make sure to tell your client what tones your like in your hair, whether you like cool or warms tones. Warm tones have a golden base, and cool tones have more of a blue base.  Here are some examples of colors in both warm and cool tones. It’s pretty common for people to think they say they have red in their hair and that they hate it! A lot of people mistake warmth for red. So even if there is no red whatsoever in the color formula they may still think they see red. Don’t hesitate to tell your stylist that you don’t want to see red, just prepare for them to want to use a cooler toned color on you. Here are some examples of colors in both warm and cool tones.

This is a cool toned blonde:

And this is a warm toned blonde (you can see how there is a bit more gold in this blonde, but it’s not brassy or yellow)

Here is a cool brown:
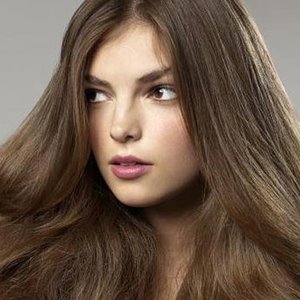
And here is a warm one (this is where a lot of people think they see red because of the warmth but most often there is no red added just gold!)

Here’s a cool toned red:


And a warm red ( warms tend to have more orange and gold bases, and cool tones tend to have more violet bases).

Well I really hoped this helps! Communicating with stylists can often be tricky.

Just try to remember these key points:

-Pictures are a great tool, just remember to point out what you like and dislike

-Don’t be afraid to ask questions

-Talk about your morning routine

-Remember that you often know your hair the best

-And be honest about your hair history!

Stylists want to make your hair look beautiful so have fun the next time you get your hair done and good luck!

Until next time

Peace Out!